Monday, November 28, 2011

This is Halloween.. getting my creep on!


Being that it was my first Halloween to decorate.. I am gonna share those decorations with you :)

These pennants I made with some felt and twine, the first one hung in my bathroom off of the curtain rod. The pumpkin one was purchased.

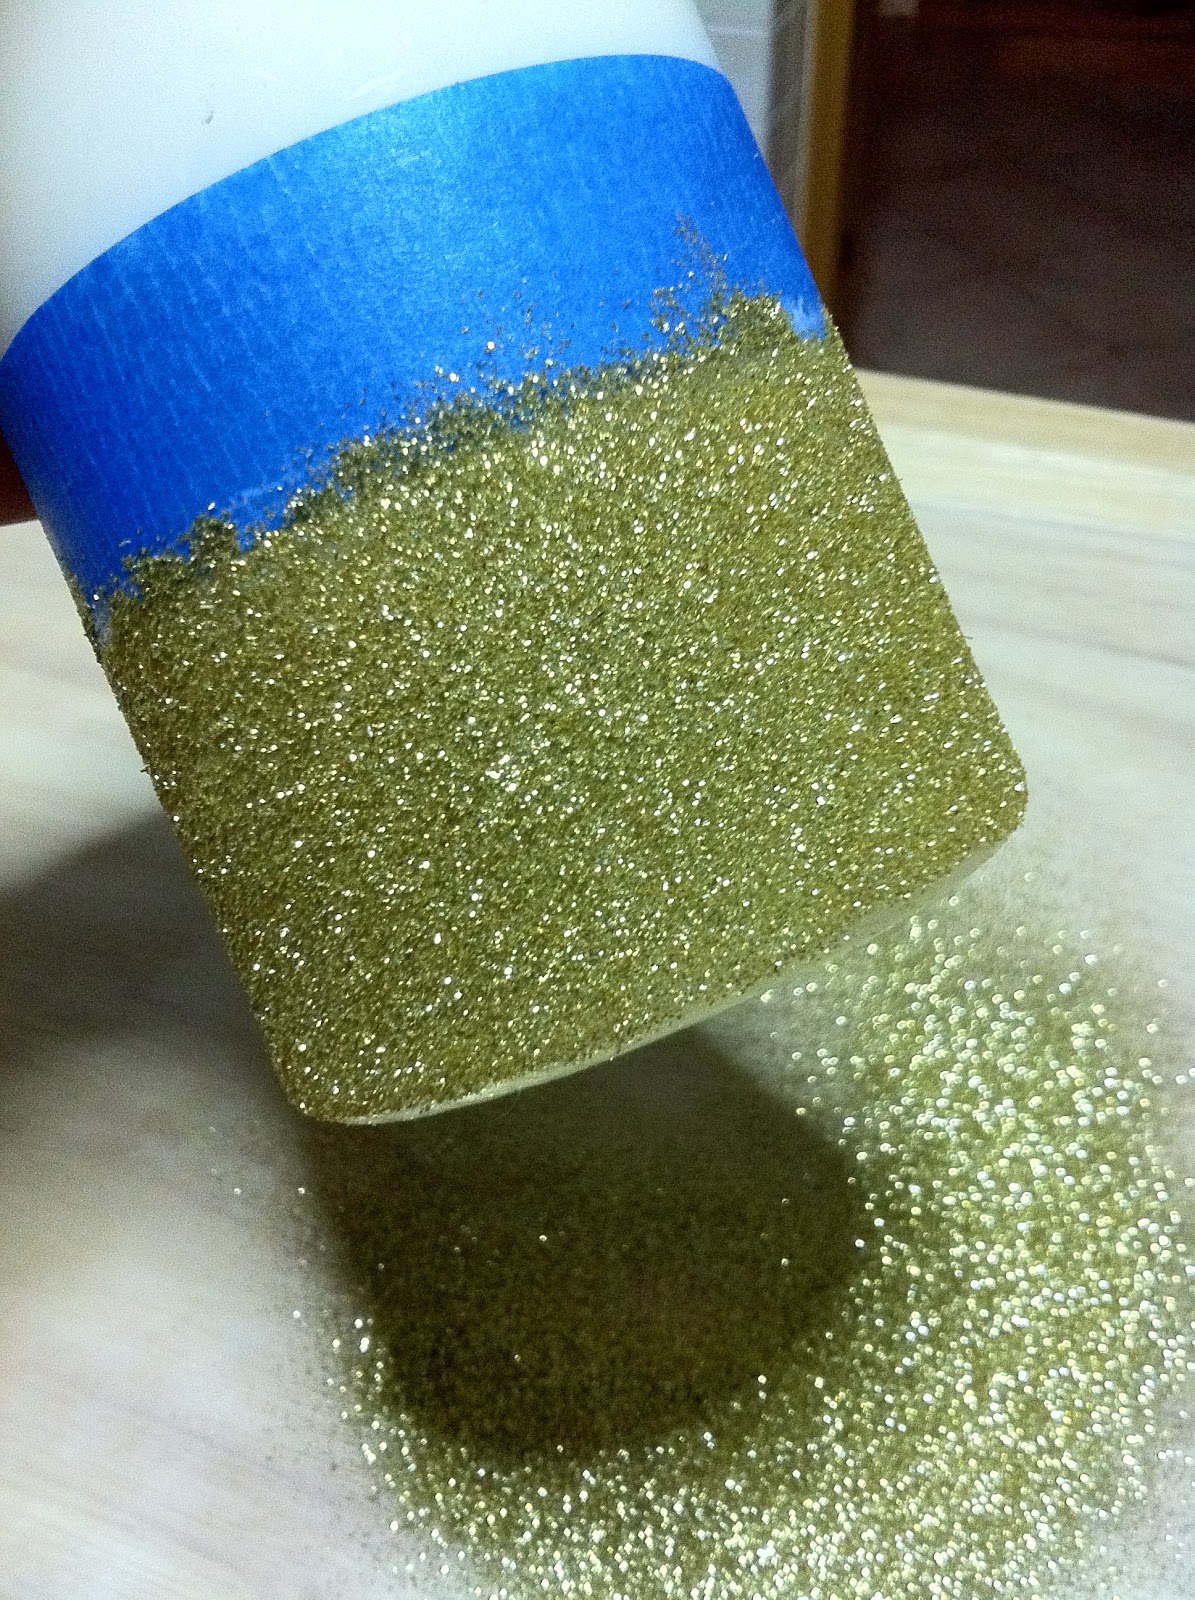
I was pretty excited to get things going for the Halloween party. I made little costume contest awards, I call them SKELLYS haha. I just used some of the skeleton garland that I got at our Base Exchange for $3 and some metallic gold spray paint. The garland came with 6 skeletons so I had just the right amount. I went to the hardware store and got mini tera cotta pots. Just hot glued the skeletons feet to the bottom of the pot and sprayed away! Didnt they come out super awesome! I bought enough for next year also!


Here is just a peek at the decorations I had scattered around the house:


Starting at the front door. This is a simple wreath with autumnal colored leaves on it. It's really a blank canvas and can be left out for the entire Fall season. I think it was a late night WalMart find a long long time ago. I jazzed it up with some fake spiderwebs and a black glitter sign that says Happy Halloween on it, although its hard to see against the dark wood door.

Below is the main hallway. Didn't do too much as I really didn't have a lot and am slowly acquiring spooky pieces as time goes by.


I love the "Trick or Treat" sign with the bats :)

The bunting you see on the wall above the console table is black spiders and purple cats-- what? you've never seen a purple cat before? lol

This hallway leads into my living room.


Gotta love my bats and skulls bunting!! I have one hanging on the dining room doors too!!


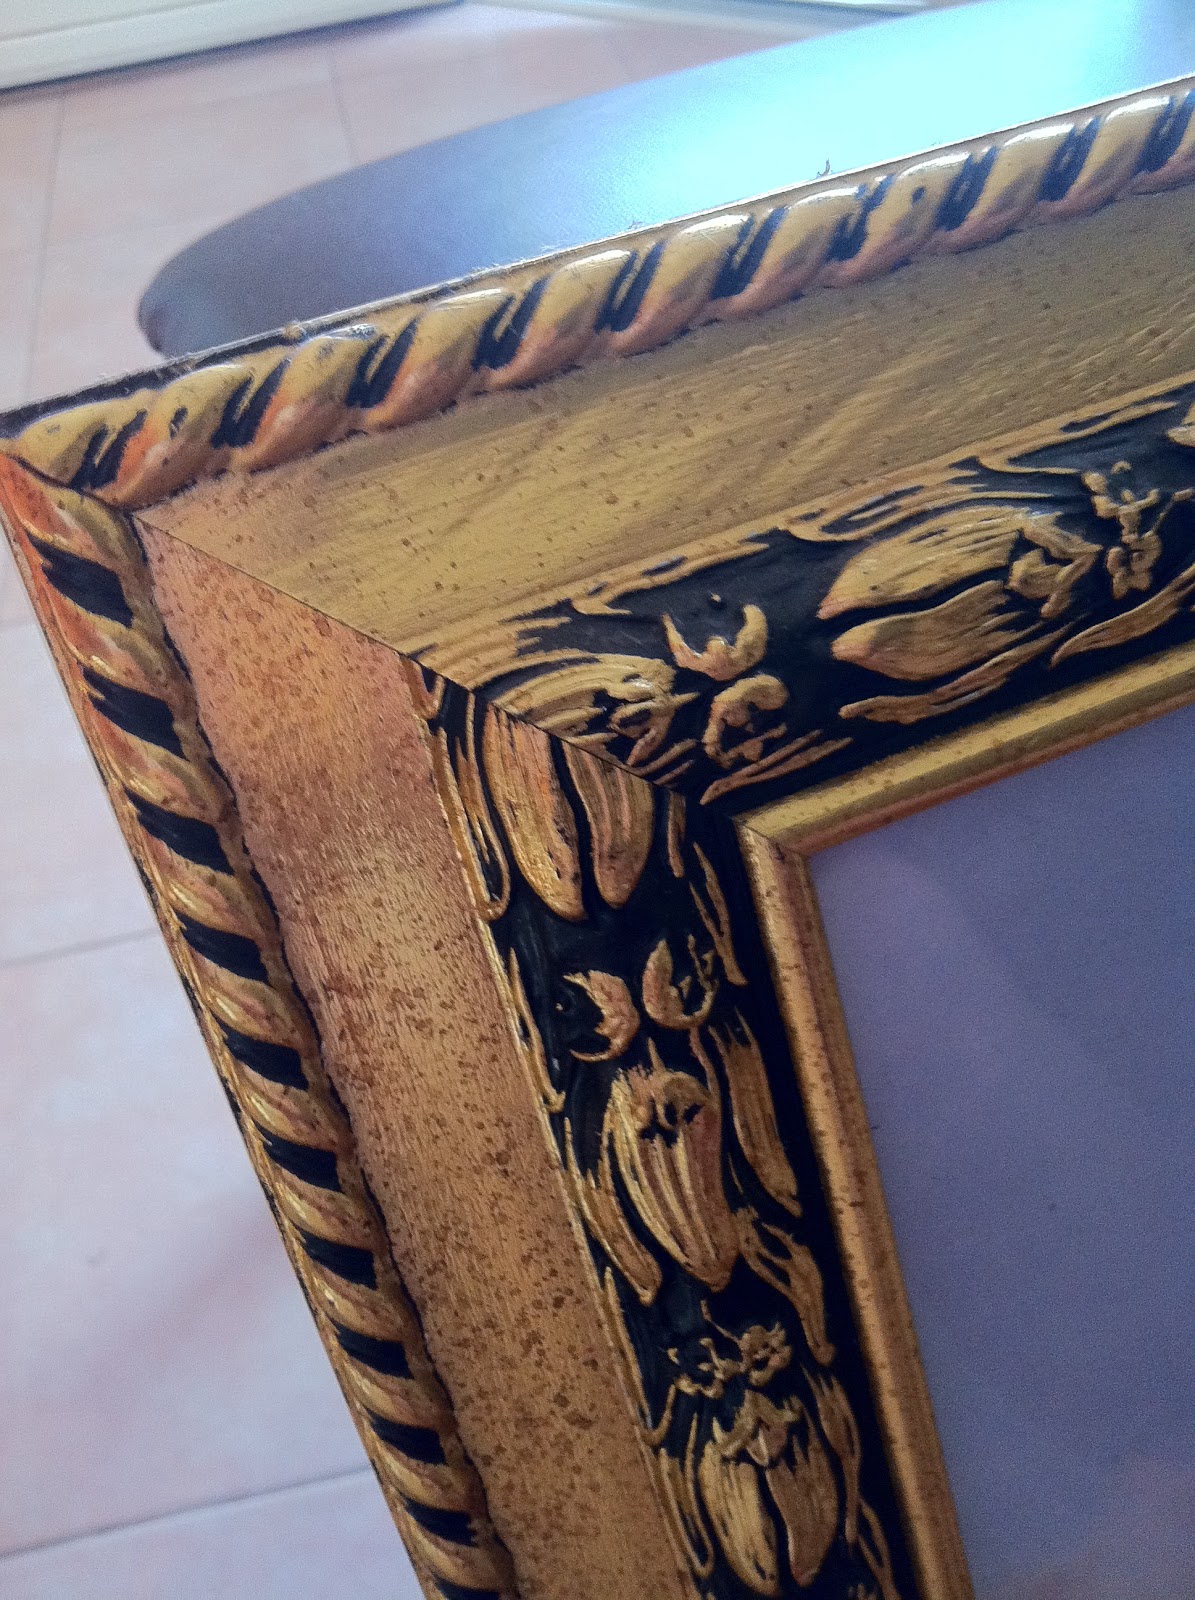
See the candy corn candles! I love them on the sconces. Here I just used a frame that was a nasty gold, spray painted it a matte black, leaned it up against the wall next to an old rusty lantern, a fake tombstone, some dripping blood candles, fake pumpkins and a smattering of fake spiderwebs. I think it turned out pretty cool!

Now to decorate the dining room. At this time my buffet had not arrived so I had to make due with a folding table.. i apologize.

At the party, I served Dexter's Bloody Sangria, Broken Glass Cupcakes, there was some chips and a "killer" taco dip (made my Ashley), Blood Orange juice and my awesome friend Haley brought cinnamon roll cookies and mulled hot cider.


"Broken Glass" cupcakes


A few of the costumes:


Haley & Charlie-- Dia De Los Muertos


Myself & Ashley-- True Blood waitresses from Merlottes Bar & Grill


Mike & Stephanie-- Gothic Military (?) I think


Krystal & baby Kellen-- Mermaid & fish!

Until next year... HAPPY HALLOWEEN!!!


MUAHAHAHAHAHAHAHAHAHA


And so we meet again...

October was my last post? Really? Wow! Who is a slacker? This girl!

Sorry guys! Once Halloween hit, it was a whirlwind of holidays and parties and events. OK, this is what I'm gonna do. I'm going to try my hardest to post a series of catch up entries.

First one: Halloween!

Thanks to one of my best friends EVER.. I got the opportunity to carve my first pumpkin-- EVER! It turned out AWESOME and I even chose a heck of a pattern. Sorry the picture is blurry, I took it with the FaceTime camera on my iPhone.

Decided on a Jack Skellington pumpkin. No Halloween is complete with out a little Nightmare Before Christmas. I love that movie, I love Tim Burton and his crazy mind. I almost wish I had another pumpkin so that I could've done Zero too. :/


Carving a pumpkin is easy but its definitely time consuming. I think it took us about 2 hours from start to finish. We wrapped my kitchen island in garbage bags and taped an empty one to the side. We called it our "Kill Room" haha, you will get that if you're a Dexter fan. Surprisingly those little pumpkin carving tool kits that you get at the grocery store are pretty good. We cut a hole in the top and used the scooper to get out the guts. Then scraped the edges down, placed the pattern on with some tape and then traced the pattern right into the rind.


Here is a trick we found, via some trial and error..

We used a plain ole fork to poke holes in the rind through the paper, making it like a connect the dots. That made it easy to use the serrated cutter to carve out the design.


After we finished Jack, I decided to cut out a bat silhouette from the back so that when a candle or light was inserted into the cavity of the pumpkin, a bat would shine on to the wall.... almost like the bat signal! LOL


I'm pretty proud of him! He even lasted right up to the day after Halloween! Next year--- I'm waiting til the day before to carve!

Thursday, October 13, 2011

Craft Room: Part Deux

I've been gone... :/ sorry! Well the 15th is around the corner. I've been working on the craft room and I just wanted to update where I'm at in spending:


TOTAL BUDGET €150

PURCHASED ITEMS

-Table €39,99
-Shelf €14,00
-Pencil/pen storage €12,99
TOTAL SPENT  €66,98

I still have €83 remaining!

Will post pictures as soon as the room is done. Just wanted to keep you posted! Still need to get a chair. :/

Saturday, September 24, 2011

It's a Design Star kinda night

SO ... It's late and I'm up watching Season 6 of Design Star. The creative wheels are spinning.

Recently I've decided to bite the bullet and turn my guest room into a multi-purpose craft/guest room. With the holidays nipping on our heels, I can't have fabric and thread strewn about my dining room during thanksgiving dinner! I put on Design Star and decided to give myself a little budget challenge. (Husband approved)

The Challenge: A multipurpose craft/guest room for €150 ($200) or less
The Contender: Me, a jobless American living in Sicily with a limited access to affordable furniture.
The Start date: Oct 15 (payday)

I've started to clean out the guest room. I already have a somewhat furnished guest room, extremely meager, but furnished. I have a twin bed & a woven rug--- I said meager! Pathetic. I went through some of the tote boxes of clothes and there might be a garage sale in the near future.

Time to poke around the internet for some ideas.

LOVE the pennant window treatment! I've been a little too into pennants lately. Also, check out the embroidery hoops as wall art! Super cute.


I see that they also used a table for a desk.. I will be adopting that idea. A friend of mine uses a simple table from the VIKA line at Ikea. I was concerned with the sturdiness of the table. I attempted to put my sewing machine on a folding table, that, my friends was a mistake! The table hopped up and down when the machine was working. My friend loves hers. SOLD. And at €30 it comes in within my budget.

I'm not a huge fan of the legs... simple. Make a curtain. Plus the curtain will hide any unsightly storage boxes I might have, as well as cords from laptops, hot glue gun, and my sewing machine. I do believe that the legs screw right into the bottom of the table top so there is no ledge to attach a rod for a curtain--- velcro might come in handy. Now I just have to find the right fabric. I'm leaning towards canvas, its neutral and won't clash with my Pottery Barn bedding (on sale, thank you!).

This is a great idea for storing pens, scissors, brushes & all of those items you need in arms length. Ikea to the rescue yet again.


I can get the rail & 3 little tin baskets for €14 euro. (This brings our current total to €44). For even more storage for rulers and measuring tapes I can repurpose a RIBBA picture ledge (€5)-- i could even put a magnetic strip (€7), you know for holding knives, underneath it and get some baby food jars to hold things like pins, safety pins, needles, etc. Attach a small magnet to the top of the baby food jars and then it will just "hang" from under the ledge.


Everything will be visible. Awe.. they are kinda cute huh? It might be time to try that carrot cake recipe that uses carrot baby food.


Time to look at shelves... Don't judge my drawing lol. It's pretty sad.. my no-thumb cat is even unimpressed. I found these bracket mounted wall shelves for €3,50 and the brackets for €3. (2 sets = €19, bringing our current total to €75)


That sorry looking frame is another project entirely. I'm creating a burlap memo board. So far, I've only painted the frame. Here is your sneak peak.


I have a couple more things to tackle:

Window treatment
Storage units to go on the shelves
Step stool cause I'm short
Chair
Curtain for under the table
Utility cart
Relocate the bed so that it is a usable "daybed"

I've got my work cut out for me! But for now... BED!

Sunday, September 18, 2011

I'm Goin' Batty!

The other day I posted a picture of one of my bat pillows. I fell in love with them when I saw them at HGTV.com I still had another to make so I tried to take pictures along the way. I apologize, its not the best but I gave it a fair shot! These came out SO cute.


What you will need:
1 yard each of 
-Black Felt 
-Cream Felt
20x20 pillow forms
Black embroidery thread
Embroidery needle
Fabric Glue
Sewing Machine
Cream colored thread


Now you can print the templates if you want but I just traced it from my computer screen. I know, lazy! :) But I don't have a printer.

First thing is to cut out your bats from the black felt. Pin the stencils in place and use sharp scissors. Mine aren't great.. I need new ones.

You can cut out as many bats as you want for the pillow, I chose 3.


Cut out 1 19"x19" square of the cream felt. Why 19"x19" when the pillow is 20"x20"? Because when you put the pillow form inside the case, it will fit a little snug, this makes the pillow more full. If you were to make 20"x20" cases, there would be some gaps in the fabric and it would make it look a little saggy.

Take your bats and map them out. Then, using fabric glue, tack down the body of the bat and the wing tips so that the bats look like they are flying off of the pillow.


This next part is optional, I did it. Just put on a couple episodes of your favorite tv show (in my case it was The Munsters season 1). Take some black embroidery thread and sew down the body and the wing tips. This doesn't have to be done with fancy-shmancy technique. 

Cut out a 20"x20" square in the black felt. Lay the square with the bats on them on top of the black felt so that the black creates a "frame" around it, see picture, pin it down.

Depending on if you want to just store these pillows in their entirety or just make cases this part might differ. I made mine in an envelope style so that I can slip the pillow form right inside the case.

 If you want to just make the cases then you're going to cut a 21"x21" square of cream felt. Cut it down the middle to make 2 rectangles. Flip the pinned black and cream felt over to the back side, black felt side up. Lay the 2 cream rectangles so that they form 19"x19" across and overlap by 2" in the middle, pin this down through the black felt to the cream with the bats on it.
Run all 3 layers through your sewing machine. I am using a cream colored thread. Sew around the outside edges of the cream fabric, about a half inch from the edge. When you reach the corners, leave the needle in the fabric, lift the presser foot and rotate the fabric. This will help with a clean corner instead of a rounded one.


Sewing the edges together shouldn't take you more than a couple minutes. Once your done, trim up the thread and slip your pillow form in!

**Now if you are wanting to leave this case ON the pillow and just store it away for next year: then cut 2 19"x19" squares from the cream fabric and slip the pillow in before you close up the pillow.

When it comes time to put these bats back in the cave, just crumple up some tissue paper and tuck it under the wings. This will prevent the wings from smashing down.


Speaking of going batty.. OMG Scentsy fans...


I'm doing a Scentsy party on Oct 2nd if anyone is interested! They have some great fall/winter scents to help your holiday smell fantastic.

Thursday, September 15, 2011

Pre Halloween Decorations & a little bit of slackin'

Hey everyone...

I've been slacking a little. It's been really hot out and that makes me lazy lol.


I am happy to say that it is finally fall and the weather is cooling down. I've got a bunch of projects in my radar right now. I am going to be throwing my first ever (yes-- EVER) Halloween party. I know, I'm 26 and never had my own Halloween Party. As a kid we never really celebrated Halloween. There are only a handful of times I even remember trick-or-treating around the neighborhood.

I've started to decorate the living room. If I start now I have a whole month before Halloween! Giggity!!


I recently went to a friend's Party lite party. I LOVED all the cute Halloween decorations but I just can't bring myself to spend all that money on something I'm just gonna burn. I did, however, buy some of the decorations. In the first picture you can see the Momma cat and her kitten tea light set. SO cute on my coffee table.

I fell in love with their 5" pillar candle that looks like candy corn. My favorite Halloween candy is candy corn.. I can set aside all knowledge of the upset stomach that comes after eating a handful. But at $18 for one candle, thats a stomach ache right there! I don't plan on burning this candle so I figured what do I care what it smells like anyway. I knew I could replicate this... and just like that I'm on the hunt.

I went to my favorite place, yep you know it.... IKEA. Ever strolled into the sale section? It's like a treasure trove! Cabinet doors, "broken" goods, fabric remnants... "damaged" candles. I got 2 candles for €1,50 each. They were a little dirty but I'm gonna fix that anyway and no one is gonna see it. Beats paying €2,99!

Earlier this week I went into the fabric district with some girl friends and I was lucky enough to find a store that sold glitter. SCORE! I got gold, orange and white for €2 each.


I measured the candles and marked it in thirds. Took some painters tape and taped off the bottom third. This project is gonna take me some time! Good thing I've got the entire first seasons of Bewitched and Munsters! I hope this works out and gives me a decently clean edge.

Place some wax paper/parchment paper/or a flexible craft mat underneath where you are working in order to catch the left over glitter.

Next, squeeze some elmers glue around the bottom third and spread it around with your fingers. It's a sticky job! Then take your glitter, in this case its the bottom color layer of the candy corn. Don't worry about excess as it will just end up on the paper and you can funnel it back into the container. This way you can reuse the glitter. Let this dry! I don't know for how long but I'm giving it at LEAST an hour (thats about 3 episodes of Munsters).

I haven't started the other layers yet but I will post those when I do.

**EDIT**

added the 2nd layer of orange.. giggity!!
they aren't perfect but they are handmade and one of a kind.


**RE- EDIT**
 Finished the last layer and they are up in the candle holders now!


Partylite Candy Corn Candles $18 x2 = $36 +shipping
My Candle project (after € to $ conversion)

Candles: $4
Glitter : $8.30
Glue & tape: already had it
TOTAL: $12.30

yeah.. how about them apples?


Here are some other things I've done to start preparing for Halloween:

Felt bat pillow


Isn't he cute?! I've got one more to make so keep your eyes peeled for the post on that.


Drippy blood candles

Will DEFINITELY make more of these!


So excited for Halloween! :)